How to tell your story with a virtual tour
Looking for an easy-to-follow, step-by-step guide on how to make a virtual tour that tells a story?
Virtual tours have been around for a long time…and for good reason. Visual marketing is critical to a successful real estate business. People want to see the homes they’re interested in, not just read about them, and many people are making decisions about homes online before they even call a local real estate agent.
Using a virtual tour to tell your story is a pretty straightforward process, and with online software, the job is even easier than it used to be. Let’s dive in.

Step 1: Obtain Property Information and Take Pictures of the Home
As a real estate agent, part of your job is to be an expert about the home. After all, potential buyers are looking to you for information and advice throughout the homebuying process. Think about everything you’ll need to input into your MLS (square footage, number of bedrooms, bathrooms, lot size, etc.), and capture all of that information on the front end. Take detailed notes about the property; this will save you some time later.
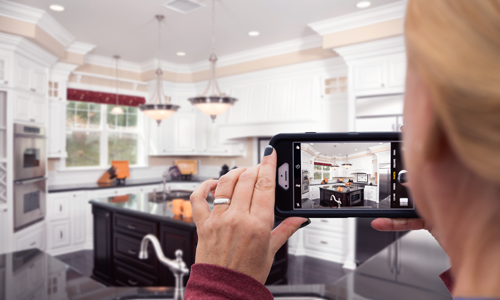
Next, plan out your photo shoot in advance. Some real estate agents think that hiring a professional photographer is their only option for getting quality photos of the home. If the home requires professional services, by all means, hire a photographer. But keep in mind that many smartphones are capable of capturing great photos as well. Try it out for yourself!
Prior to taking photos, make sure that you review the home’s furniture and decor and consider making some changes that would help the home better appeal to potential buyers. You may even want to add or remove some items like extra furniture, plants, window coverings, etc. This kind of home staging can really help out your marketing.
Also, put the home in its best light…
So make the best use of natural light, and capture photos of the home’s most attractive features. Take pictures of all of the standard things potential homebuyers would be interested in. And as with any kind of photography, it’s a good idea to take multiple pictures of the same thing so that you can select the best photos to represent the home online.
As I mentioned above, you may even want to shoot some video segments to include in your story. Remember, this is a visual tour of the property, so better visuals (photos and videos) will likely lead to a bigger impact on potential clients.
RELATED: Want more video ideas for real estate marketing? How about 180 more ideas! Get a free copy of our Real estate marketing kickstarter ebook here.

Step 2: upload pictures and property information to your MLS
Now that you’ve captured all of the necessary information about the property, it’s time to upload all of it into your MLS. Double check the information you enter, edit your photos, and choose only the best photos of the property to upload to your MLS. Doing a little careful planning on the front end can help homebuyers get the information they need, and it can help you automate story creation and sharing later on.

Step 3: use software to tell your story
By using storytelling software, you have the ability to edit photos, upload videos, and add branding, contact information, transitions, music, and even voiceovers to your story. Use all of the multimedia tools at your disposal to tell the home’s story in a way that matches the expectations of your buyers.
Regardless of what kind of story you create, you’ll need to put all of your pictures in some kind of order and type out some comments for each photo and video. This is a visual story, but having text descriptions gives you the opportunity to add more information. Comments will also help buyers who need to know the facts or who just prefer reading and following along as the story progresses.
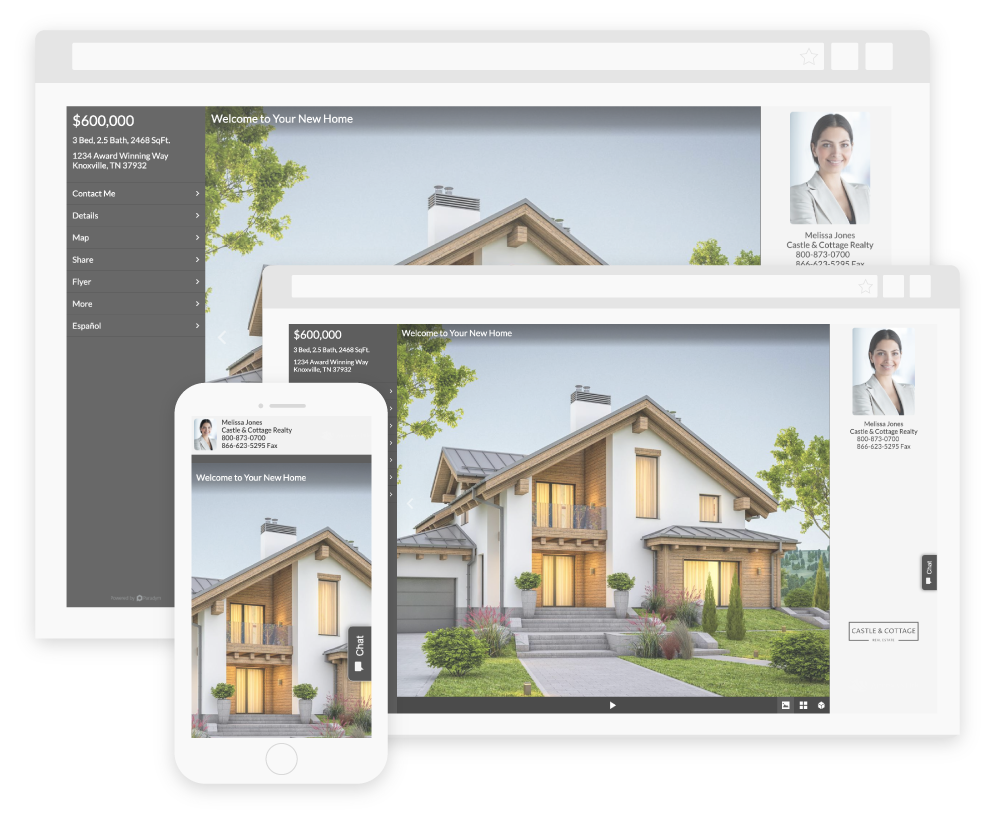
Some software platforms can actually automate a lot of these steps for you. For instance, Paradym saves agents time by pulling photos and text descriptions from the MLS and automatically creates a shareable story for the property. It’s a good idea to take advantage of time-saving tools like automation to help you tell the home’s story.
Here are a couple of ideas to get you started:
Of course there are several different routes you could go, just make sure to tell a story about the home and avoid just dumping picture after picture in there with no way for the buyer to understand how the photos and videos fit together.
Want to see how Paradym can save you time with automation? Click here to set up a demo.
Step 4: customize your story
Once you’re happy with the order of your photos and videos, and you have all of your descriptions in place, take some time to edit the story. What could you improve? Is anything missing? Is anything out of order?
Make some adjustments if needed…
Here are some ideas for things you could include in your text descriptions:
Once you’re done customizing your story, make sure to proofread all of your text descriptions and watch the story a few times to make sure it’s ready to share. You may even want to get a knowledgable colleague to take a look at the story and give you some feedback.
If everything is good, you’re ready to share your story. Use real estate sites like Realtor.com, Zillow, Trulia, etc. as well as social media channels to get the word out about your listing. And make sure to follow up with the people who are liking, commenting on, and sharing your story.
Start making stories today
Visual marketing matters. Use these tips to help you get started with making engaging stories today!
Let’s do marketing!

